A new game
Play this step Its whole project
In this step you make the game, run it, and then read what you were given. By the end you will know what every file is for, you will have read your first Rust program, and you will have changed the game's name, its colors and its layout.
You won't write much code here. It's the longest page of the tutorial because everything in it comes back in every later step.
Make the game
In your terminal, go to the folder where you want your game to live, and run:
shuyi new writes a new game in a new folder called box-pusher, and cd moves
you into it. Use this name: the rest of the tutorial expects it. --template blank asks for the smallest game there is, one screen with a title on it.
Now open that folder in your editor, and leave your terminal open beside it.
Run it
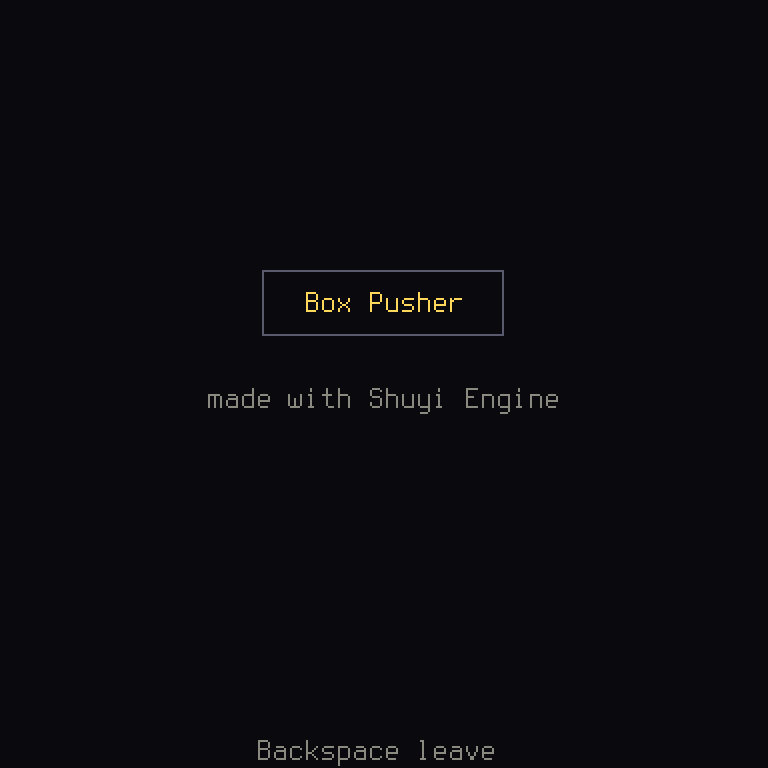
The first time, this takes a few minutes, as Cargo compiles the engine and everything under it. Later runs take a second or two, because only what you changed is compiled again. When it finishes, a window opens:
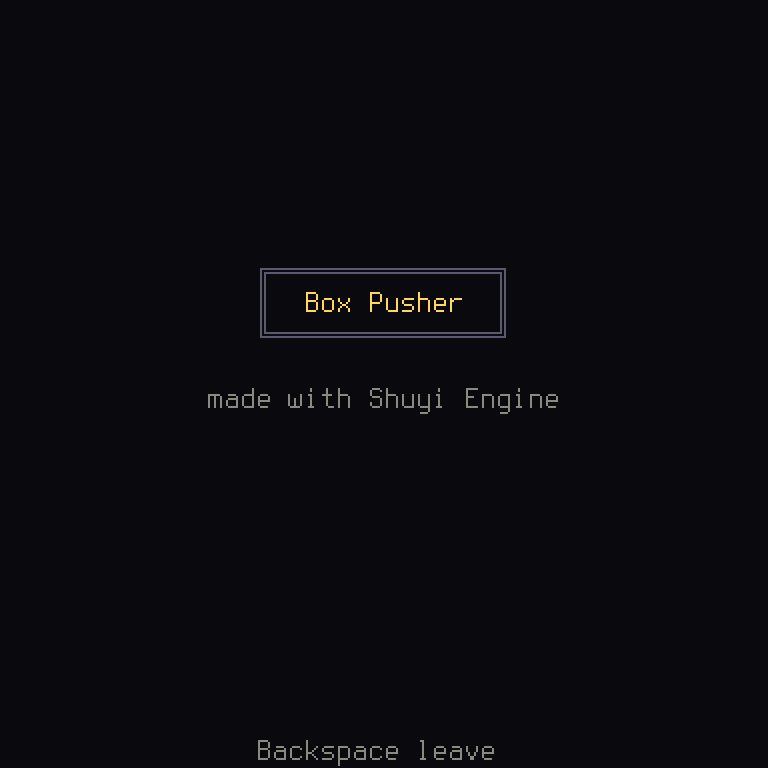
Press Backspace to leave. That is all the game does so far, and it's already a real program: a window, a loop running 60 times a second, text on the screen and a key that does something.
You can also run the game with no window at all, which sounds strange but turns out to be one of the most useful things about Shuyi:
That plays 30 frames, and prints what was on the screen, as text, into your terminal. And this runs the game's tests, small programs that play the game and check it did what it should:
You should see several lines ending in ok, and test result: ok. You'll write
tests of your own from step 3, and step 9 is all about them.
The folder, from the outside in
Here is what shuyi new wrote. Don't try to learn this table: you will read each
of these below.
| Path | What |
|---|---|
shuyi.ron | The project file: the game's name, id, and where it can run. Shuyi's tools read it |
Cargo.toml | The list of what your code depends on, for Cargo |
crates/game/ | Your game's code and files: nearly everything you do happens in here |
crates/game/Cargo.toml | The same kind of list as above, for the game itself |
crates/game/src/ | The game's source code, in Rust |
crates/game/files/ | The game's data: its words, keys, colors and font |
crates/game/tests/ | The tests |
crates/game/examples/tools.rs | A small program that lets cargo shuyi run your game |
shuyi new also writes AGENTS.md and a .claude folder for coding assistants,
a .github folder that runs your tests on GitHub, and a README.md. You can
leave those alone for now. (The tutorial's own copies of each step leave them
out, so don't worry that the "whole project" link doesn't show them.)
Two ideas in that table need explaining. A crate is Rust's word for one
package of code, either a program or a library. The engine is several crates, and
your game is one, crates/game. And a workspace is a group of crates built
together, which is what the Cargo.toml at the top describes.
The game's data: three files to play with
We'll start with the files that aren't code, because you can change them straight
away. They are in crates/game/files/, and they are written in RON (Rusty
Object Notation), a simple text format for data. A // starts a comment, a
note for people that the computer ignores.
The words: en.ron
Every word the player reads is in this one file, English here, and looked up by a name called its key:
// Box Pusher's English: every screen's text by key. A `{name}` that is an
// action's name shows the player's key for it ({Confirm}).
{
    // The keys and layouts the engine names.
    "keys.not_mapped": "! not mapped",
    "keys.arrows": "arrows",
    "keys.chord_join": "+",
    "layout.arrows": "Arrows",

    // The title.
    "title.name": "Box Pusher",
    "title.subtitle": "made with Shuyi Engine",
    // Shown when the game has a stage to start.
    "title.play": "{Confirm} play",
    "title.help": "{Cancel} leave",
}
On each line, the left side is the key, and the right side is the text. The code
never says "Box Pusher" anywhere. It asks for "title.name", so a game can be
translated by writing one more file like this one, and you can fix a typo without
touching any code.
{Cancel} in the text isn't a typo: it means "the key this player presses to
cancel". On your screen, it came out as Backspace. There's more on why in a
moment.
Shuyi: text by key. A screen asks for text with
ctx.text("title.name")and never writes words into code.cargo shuyi lintwill tell you if you do.
Let's change it. Open en.ron, make this change, save, and cargo run again:
In crates/game/files/en.ron:
- "title.name": "Box Pusher",
+ "title.name": "Crate Escape",
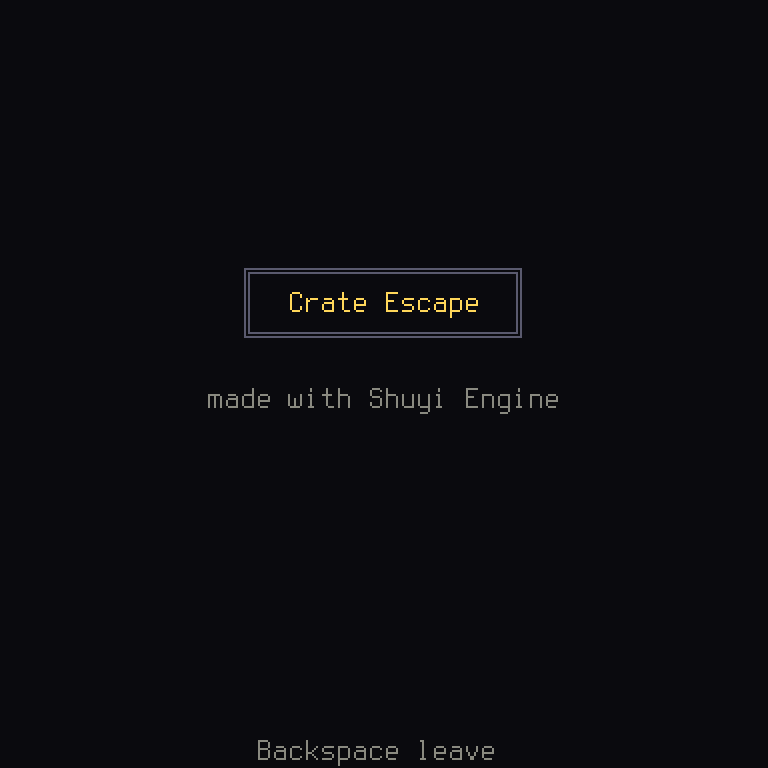
The box grew by itself: the code measures the name and draws a box to fit.
The colors: palette.ron
// Box Pusher's colors by name: the engine's (its screens and widgets draw
// with them), and the game's own after them.
{
    // The engine's.
    "text": "#e4e4dc",
    "text_dim": "#8a8a80",
    "panel": "#16161c",
    "border": "#5a5a6e",
    "highlight": "#ffd75a",
    "warning": "#ff7a5a",
    "focus": "#5ac8ff",
    "background": "#0a0a0e",
    "accent": "#a0e07a",
    "bright": "#ffffff",
}
Each color has a name, and the code asks for colors by name, never by number. A
color like #ffd75a is three pairs of digits, for how much red, green and blue it
has, each from 00 (none) to ff (all of it). They count in base 16, which is
why there are letters: a to f are the digits after 9. Any web search for
"color picker" will give you one of these codes for any color you like.
Now the blue you saw on the last page. highlight is what this screen draws the
name in:
In crates/game/files/palette.ron:
- "highlight": "#ffd75a",
+ "highlight": "#5a9bff",
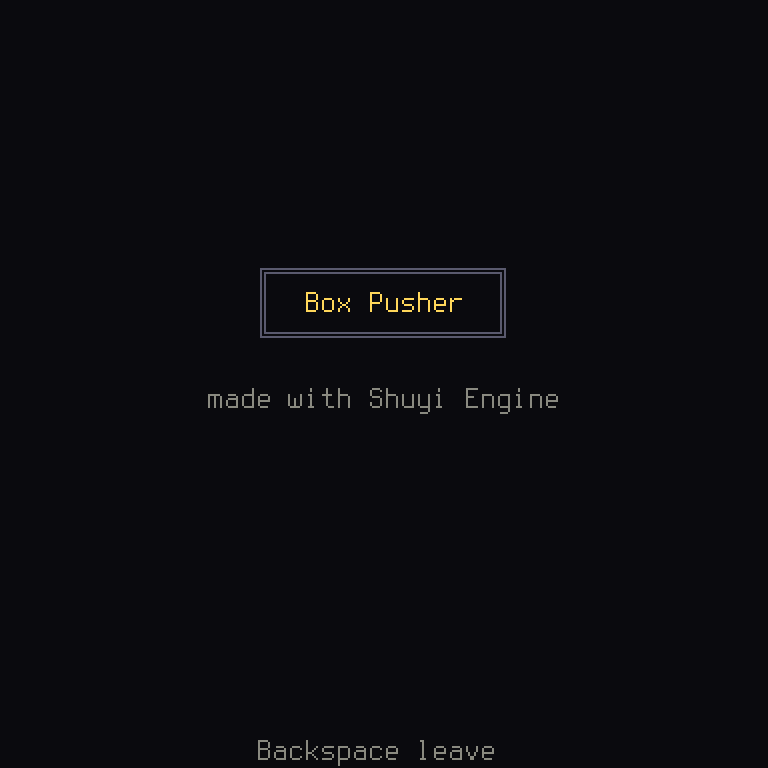
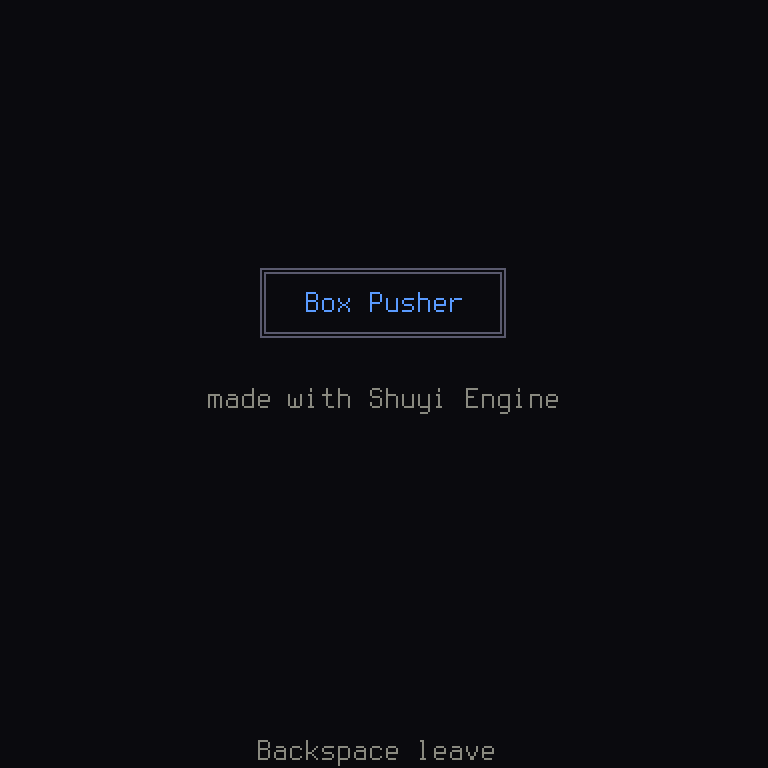
You changed the game's look, and no code changed.
The keys: keymap.ron
This file says which keys do what:
            keys: {
                // Held, they repeat.
                "Up": ["Up", "w"],
                "Down": ["Down", "s"],
                "Left": ["Left", "a"],
                "Right": ["Right", "d"],
                "Confirm": ["Enter", "Space", "z"],
                "Cancel": ["Backspace", "x"],
            },
The names on the left are actions: things a player can ask for, like Confirm or Cancel. The right side lists the keys that give each one.
Shuyi: actions. A game's code never asks "was Backspace pressed?". It asks "was Cancel asked for?". Your code reacts to actions, and this file says which keys they are. So every player can change their keys, a controller works the same way, and the help line on screen can say the right key, because it asks the keymap. That's what
{Cancel}inen.ronwas doing. It's a firm rule in Shuyi: never write a key into your code or your text.
(The rest of that file gives the same actions for a controller's buttons, and says how quickly a held key repeats. You can read its comments later.)
Your first Rust: main.rs
Now the code. It's in crates/game/src/, in files ending .rs. Start with the
shortest:
//! The game's binary: the engine's macroquad backend runs the game in a
//! window.
// A release build on Windows is a GUI program: no console window.
use run_game;
There are only a few real lines here, so let's take every one.
//! is a comment too, a special kind that describes the whole file. //
is an ordinary comment. And ///, which you'll see soon, describes the thing
right after it. Comments don't change what the program does.
#![cfg_attr(...)] is an instruction to the compiler. This one says that a
finished Windows build shouldn't open a black console window behind the game. You
won't need to write any of these for a while: when you see #[...], read it as a
note to the compiler.
use shuyi::prelude::run_game; says "I want to use run_game, which is in
the prelude of shuyi". Code in Rust is organized in modules, like folders,
and :: walks down them, as / does in a folder path. The use is a shortcut,
so below you can write run_game and not the whole path.
Rust: every line that does something ends with
;. A missing;is the most common mistake there is, and the compiler will tell you just where it is.
fn main() { ... } defines a function: a named list of instructions.
fn means "function", main is its name, the () holds what it is given
(nothing, here), and the curly braces { } hold what it does. Every Rust program
starts by running the function called main.
run_game(game::game()); calls two functions. game::game() calls the
function game in your game's code, and it answers with a description of your
game. Then run_game takes that description and runs it, opening the window and
starting the loop. It doesn't return until the game ends.
So this is the entire program: "ask for the game, and run it".
What the game is: lib.rs
game::game() lives here. This is the file that says what your game is made of.
At the top, it says which other files are part of it:
Rust:
mod title;means "there is a module calledtitle, intitle.rs". A file isn't part of your program until something says so withmod. When you add a new file later and the compiler can't find what's in it, this is usually why.pubmeans public: other files may use it. Things are private unless they saypub, so a file can keep its details to itself.
Then it gathers the data files:
/// The game's files, embedded.
// check-text: not player text, a folder
static FILES: = include_dir!;
include_dir! takes the whole files folder and puts it inside the program
when it compiles. That is why your game needs no installer and works in a browser:
it carries its files in itself. The ! means it's a macro, a kind of function
that runs while compiling and writes code for you. println! and vec!, which
you'll meet, are macros too.
static makes a value that exists for as long as the program runs. FILES is its
name, and : Dir<'static> says what type it is. A type says what kind of
thing a value is: a number, some text, a list. Rust checks every type while
compiling, which catches a whole family of mistakes, like handing a function text
where it wants a number. (The 'static you can ignore: it says this lasts for the
whole program.)
Next, your game's data:
/// The game's data and state, which its screens share: the engine's, read
/// from `files/`, with the six moves of `files/keymap.ron` as its actions,
/// and its stages' own part.
pub type Data = ;
type gives a long type a short name: from here on, Data means
BasicData<UiAction, stages::Own>.
Shuyi:
BasicDatais everything the engine read from your files: the words, the keys, the colors and the font. The short path,shuyi new's way of starting, means you name only what the engine can't work out by itself.Rust: the
<...>are generics.BasicDataworks for any game, so it has blanks to fill in, and this fills them: this game's actions areUiAction, the engine's six ready-made moves (Up, Down, Left, Right, Confirm and Cancel), and its own extra data isstages::Own, which is nothing yet. It's like a form:BasicData<actions go here, your extra data goes here>.
And finally the function main.rs called:
/// The game: who it is ([`app_info::APP`]: its name, and where the
/// player's settings and keys are kept), its files and its stages' part of
/// them, its first screen, every screen it can show, and the engine's
/// modules its features turn on (`Cargo.toml`).
-> BasicGame<UiAction, stages::Own> says what the function returns, gives
back to whoever called it.
let files = ...; makes a variable, a name for a value. let is how you make
one.
BasicGame::with_own(...) makes the description of your game. It is given four
things, separated by commas: who the game is, its files, how to read its own extra
data, and what the first screen is. Then .screens(screens) and .modules(...)
each add a little more to it. Calling one thing after another with . like this
is called chaining, and you'll see it everywhere.
The end of the function has no ; and no return. In Rust, the last value in a
function with no ; is what it returns. Here that is the whole chain, the
finished BasicGame.
The first screen is the odd-looking |_| { Box::new(title::Title) }.
Rust:
|x| { ... }is a closure, a small function with no name, written right where it's needed. What's between the bars is what it is given;_means "I'm given something, and I don't need it". The engine calls it when it's ready for the first screen.Box::new(...)puts a value in a box, which here lets a list hold different kinds of screen, as all boxes are the same shape.
The rest of lib.rs, made() and screens(), you can leave as they are. They
help the tools tell one build of your game from another, and list every screen the
game can show.
A screen: title.rs
Here is where a game starts to appear. A screen is one thing the game can show: this title, a level, a menu.
Shuyi: the game is a stack of screens, one on top of another, like a stack of cards. Only the top one hears the player's input. Opening a menu over the level pushes a new card on the top, and closing it pops the card off, so the level below is back as it was, with no code needed to remember it. Right now, your stack is one card, the title.
What it shows
/// What the title shows.
Rust: a struct groups some values into one, each with a name and a type. A
TitleViewholds four pieces of text.Stringis a piece of text.Option<String>means "maybe aString": it is eitherSome(text)orNone. Rust has no "null" or "nothing here" that could surprise you: if something might be missing, its type says so, and the compiler makes you deal with both cases.
#[derive(...)]asks the compiler to write some standard abilities for you.Debuglets it be printed for a person,Clonelets it be copied,PartialEqlets two be compared with==. You'll put a line like this above most things.
Then the screen itself. It holds nothing, so it's a struct with no fields, and
ends with just ;:
/// The title screen.
;
Now the first really important idea in Shuyi. The title doesn't go straight to drawing. It first works out what it shows as plain data:
Rust:
impl Title { ... }adds functions toTitle.ctx: &Ctx<Data>means this function is given the context, and the&means borrowed: it may look at the context, not change it, and has to give it back.&mutmeans a borrow that may change it. You'll see these two on nearly every function. They are how Rust knows who's allowed to change what, which prevents a whole class of bugs.
.to_owned()makes aStringof your own from text that's borrowed. Theif ... { } else { }here gives back a value: Rust'sifcan be used as one. In theplayline,!means "not", and.then(|| ...)turns a true intoSomeof what the closure makes, and a false intoNone: "only if there is a stage".
Shuyi:
ctx, the context, is what a screen is given to reach everything: the text (ctx.text), the colors (ctx.palette), the player's saves (ctx.storage), the game's data (ctx.game) and what kind of machine it's on (ctx.platform). There are no global variables in a Shuyi game. Everything comes through this one door, which is what lets a test hand the game a pretend one.
ctx.platform.can_quit() is worth noticing. On the web, a game can't quit, as the
player closes the tab. So there, the help line is empty, and the game doesn't
promise a key that does nothing.
That function returns a view.
Game idea, and a rule of Shuyi: a view is what's on screen, as plain data with no colors or positions: the title is "Box Pusher", the help is "Backspace leave". Then, separately, a skin decides how that looks. This means you can repaint the whole game without touching what it does, and a test can check what the screen says without caring what it looks like. Graphics are a skin. You'll see it pay off in step 2.
The screen's jobs
A screen must do a few jobs that the engine asks of it. The rest of the file is one
long block that starts impl Screen<Data> for Title {, and each job below is a
function inside it.
Rust: that is a trait. A trait is a list of functions a type promises to have.
Screenis the engine's trait, saying what a screen must be able to do, andimpl Screen<Data> for TitleisTitlekeeping that promise. Because every screen does, the engine can run any screen, even ones written years from now, without knowing a thing about them.
The first two jobs just answer questions:
// check-text: not player text, the screen's id
/// Confirm, if there is a stage to start, and Cancel to leave.
name is the screen's id, for tests and tools. (The check-text comment above it
tells cargo shuyi lint that "title" is an id, not words a player reads.) actions
declares which actions
this screen listens to, so cargo shuyi check --target can check that those fit the
buttons of each machine the game runs on. (A vec![...] is a vector, a list
that can grow. let mut makes a variable that may change: without mut, Rust won't
let you change it, so you can trust that most things stay as they were.)
The next job is the update of the game loop. It runs every frame while this screen is on top:
input.actions holds what the player asked for this frame. If Cancel is in there
and the game can quit, it returns Transition::Quit. If not, and Confirm is there and
there's a first stage, it pushes that stage on the stack. Otherwise, nothing happens.
Rust:
&&means "and".Transitionis an enum, a type with a fixed list of possibilities, andTransition::Quitis one of them.returnleaves the function early with that value.if let Some(stage) = ...means "if this gives aSome, call what's inside itstage, and carry on": it's how you open up anOption.
Shuyi: a
Transitionis whatupdateanswers with: what the stack does next.Nonestays,Push(screen)adds a screen on top,Popcloses this one, andQuitleaves the game.
The last job is the draw of the game loop, which paints the frame:
Shuyi:
buf, the glyph buffer, is the frame: a grid of 48 cells across by 24 down. Each cell holds a character, a text color and a background color. Cells are 8 pixels wide and 16 tall, so the frame is 384 by 384 pixels.xcounts cells from the left, andycounts them from the top, downward, both starting at 0. That last part surprises people: a biggeryis lower on the screen.
So this reads as: fill every cell with a space on the background color. Work out how
wide the box must be, from the length of the name. Work out x so that it's centred.
Draw the box at row 8, three rows tall, and print the name in the row between, at 9.
The first line, let c = |e| ctx.palette.engine(e);, is a closure kept in a variable,
to save typing: c(EngineColor::Border) asks the palette for the color it calls
border.
(i32::try_from(...).unwrap_or(0) turns a count into the kind of number cells are
counted in, and uses 0 if it can't. Rust won't mix kinds of number by itself, as a
quiet mix-up is a bug waiting to happen.)
So let's move the box. Since y counts from the top, a smaller row is higher up.
The box and the name have to move together, and the text under them stays put:
In crates/game/src/title.rs:
- Rect::new(x, 8, width, 3),
+ Rect::new(x, 2, width, 3),
In crates/game/src/title.rs:
- print_centred(buf, 9, &view.title,
+ print_centred(buf, 3, &view.title,
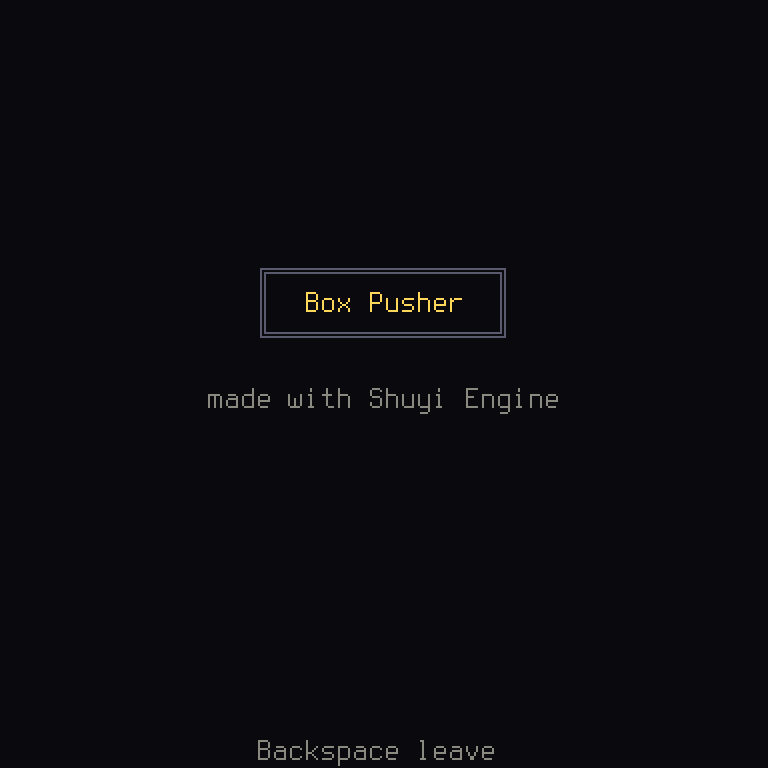
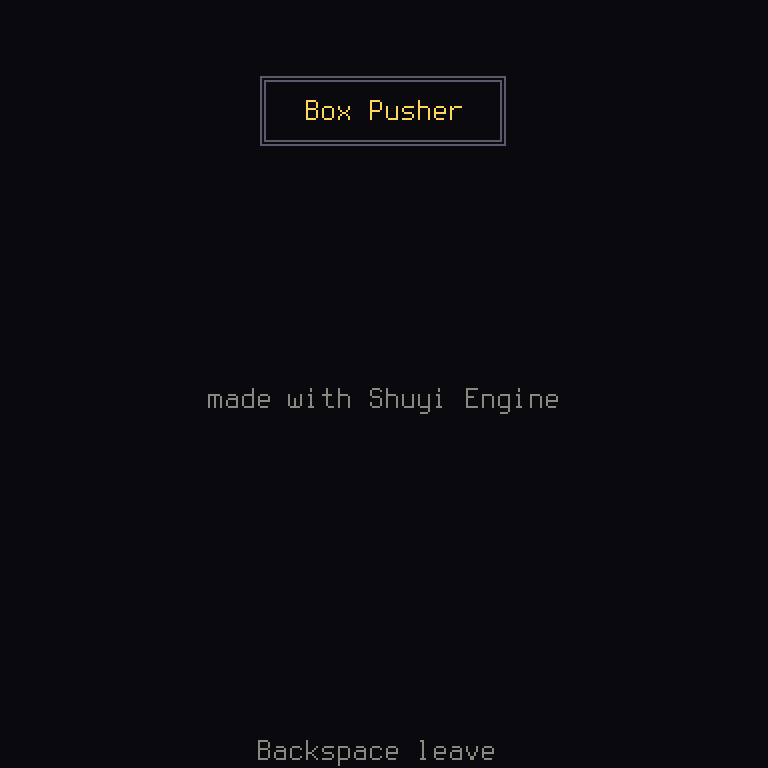
This one is a change to the code, and cargo run compiled it again before running.
Try making a mistake on purpose too: delete the , after 3), and run it. Read what
the compiler says. It points to the spot, and suggests the fix.
One more: draw_box takes a style, an enum with two possibilities:
In crates/game/src/title.rs:
- BoxStyle::Double,
+ BoxStyle::Single,
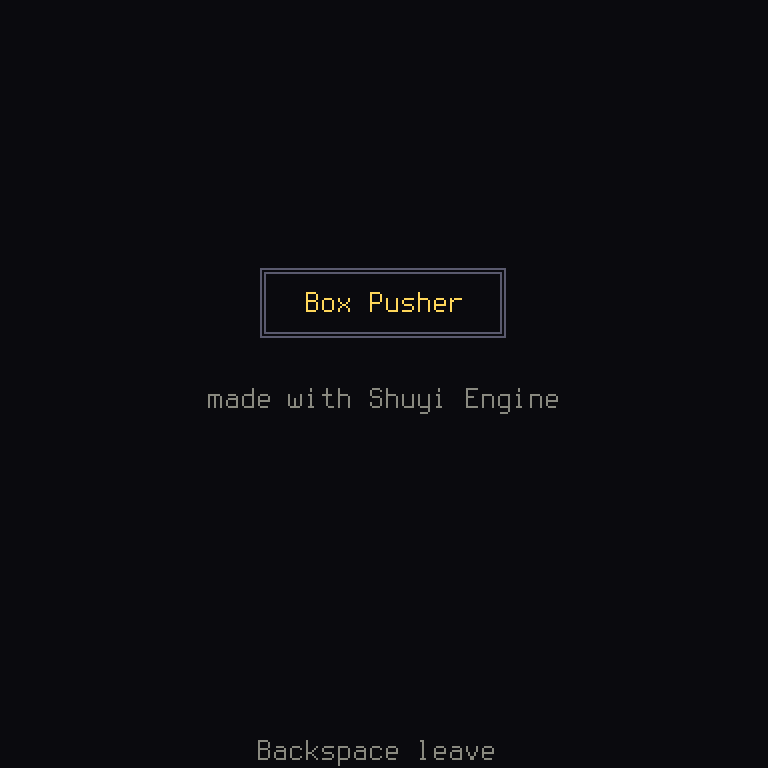
The rest of the files
stages.rs is empty for now, and you'll fill it in next. A stage is what
the game is really about, what the title starts. It's the reason the title's
play line isn't on your screen: there's nothing to start yet.
app_info.rs says who the game is. It's written by cargo shuyi app-info,
from shuyi.ron. Never edit it by hand.
examples/tools.rs is a tiny second program, the one cargo shuyi actually
runs. It's how the engine's tools get to play your game.
Cargo.toml (both of them) lists your dependencies, the code your game
is built on. crates/game/Cargo.toml names shuyi, the engine. Adding a line
there is how you add somebody else's code to your game.
shuyi.ron is the project file. Its comments explain each part. You'll change
it twice: just below, and when you ship.
A test
Open crates/game/tests/it/main.rs. Tests are ordinary functions with #[test] above
them. Here's one you were given:
Shuyi: the Harness plays your game with no window.
game::game().harness()starts it,h.keys("Backspace")presses a key, andh.screens()says which screens are on the stack.assert!andassert_eq!check that something is true, and fail the test if not. Tests may name real keys, because they're pretending to be the player.
To see it work, change the Backspace in that test to Up and run cargo test --workspace. The test now fails, and says which line. Put it back.
This, not a person looking, is how a Shuyi game knows it still works.
Make it play in the browser
Every step of this tutorial plays on its page, so give your game a web build now. It
takes two small changes. In shuyi.ron, add this part, which says what to build:
    // `cargo shuyi web`: the game's binary built for the browser, and the
    // page it runs in, written to `dist/web/`.
    web: (
        package: "box-pusher",
        bin: "box-pusher",
        title: "Box Pusher",
        dist: "dist/web",
    ),
and make a new file, crates/game/build.rs. Cargo runs a file with this name before
compiling, and this one tells the linker that the web page will provide a few
functions when the game runs:
You don't need to follow that code. A browser needs its own build of Rust, so add it once, and then build the page:
That writes the page to dist/web/. Step 10 shows how
to open it and hand it out. Remember can_quit()? This is why it matters: in the
browser, this game now leaves its help line empty.
(Chapter 9 has more.)
What you learned
- Rust: comments,
fn,use,mod,pub,letandlet mut, types,struct,enum,Option,&and&mut,impl, traits, generics, closures, macros, and how a function returns its last value. Nobody remembers all that on the first day. They will come up again and again, each time on a real line. - Game ideas: a frame, and update and draw.
- Shuyi: screens and the stack,
Ctx, views and skins, text by key, actions and the keymap, the palette, cells, and the Harness.
Next, you'll put a real level on the board.