A level on the board
Play this step Its whole project
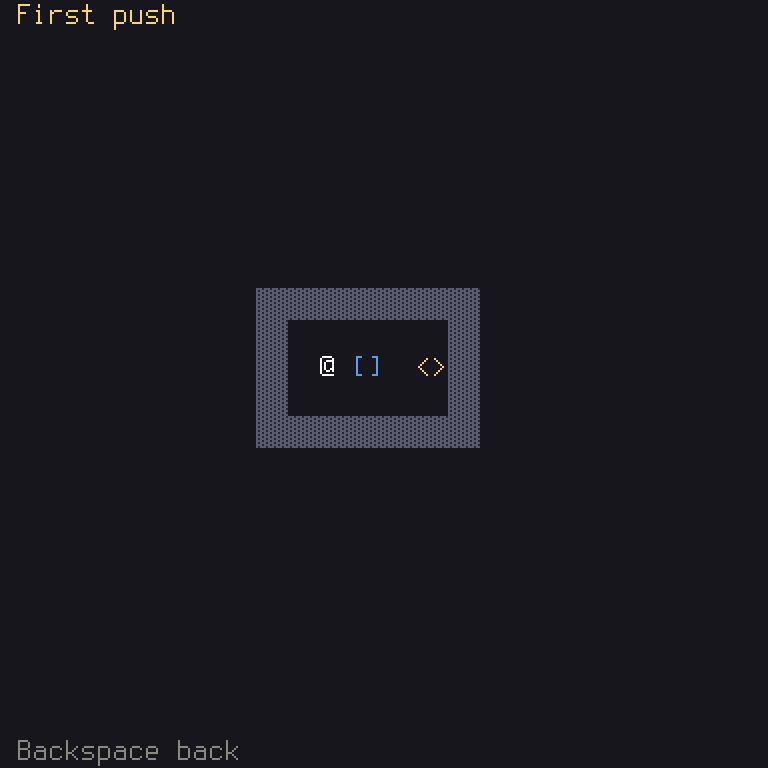
By the end of this step, pressing Confirm on the title opens a real level:
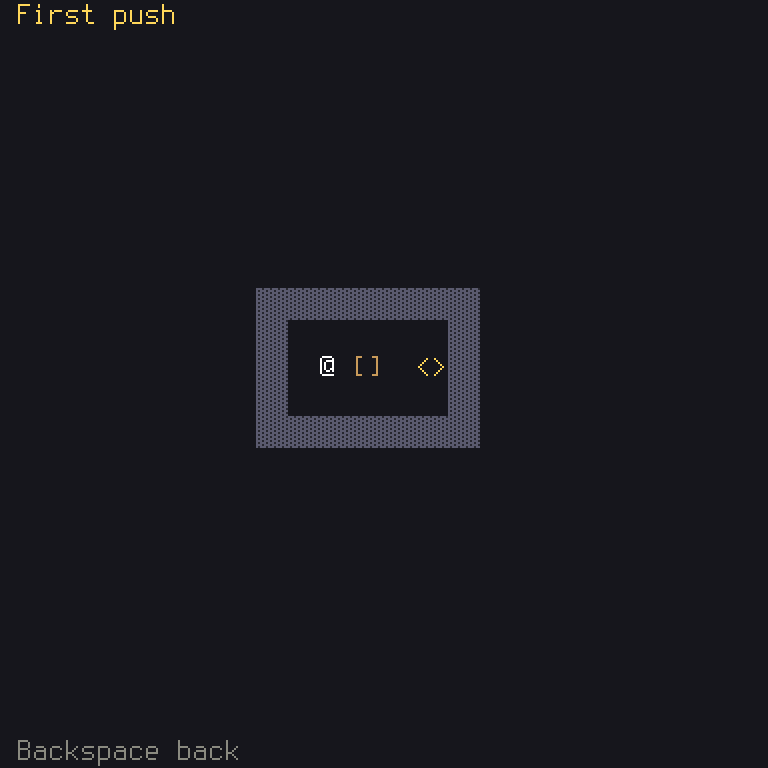
You can't move yet. This step is about three questions every game has to answer: where does a level come from, how does the game hold it in memory, and how does it get onto the screen? In Shuyi, each of those has its own file, and keeping them apart is most of what makes a game easy to change.
| File | Is it new? | What it does |
|---|---|---|
crates/game/files/levels/1.map | New | The level, as text |
crates/game/src/level.rs | New | Reads that text |
crates/game/src/rules.rs | New | What can change in the puzzle |
crates/game/src/board.rs | New | The screen that shows it |
crates/game/src/stages.rs | Changed | Tells the title to start the board |
crates/game/src/lib.rs | Changed | Names the three new modules |
crates/game/files/palette.ron, en.ron | Changed | The new colors and words |
Cargo.toml, crates/game/Cargo.toml | Changed | Adds serde |
crates/game/tests/board.rs | New | A test of the board |
Your project should end up like this step's copy.
The level's file
Game idea: keep a game's data apart from its code. If a level is a text file, then changing one never means changing code, and a level designer needs no programmer. It also means a player could make their own.
Make the folder crates/game/files/levels/, and in it the file 1.map:
// Level 1, in the engine's `.map` format.
(
    name: "First push",
    legend: { '.': "floor", '#': "wall", 'o': "target" },
    features: { (2, 2): Start, (3, 2): Box },
)
---
#######
#.....#
#....o#
#.....#
#######
This is the engine's .map format. Below the --- line, each character is a
tile, one square of the level. Above it, the header says what those characters
mean. legend says that . is floor, # is wall, and o is a target, a square a
box should end up on.
features says what else stands where. Tiles are counted like cells: (x, y), from
the top left, starting at 0. So (2, 2): Start is the third column of the third row,
where the player begins, and (3, 2): Box is the square right beside them.
This is so readable that you can already play with it. Here is the room made twice as wide and twice as tall:
In crates/game/files/levels/1.map:
- #######
- #.....#
- #....o#
- #.....#
- #######
+ ##############
+ #............#
+ #....o.......#
+ #............#
+ #............#
+ #............#
+ #............#
+ #............#
+ #............#
+ ##############
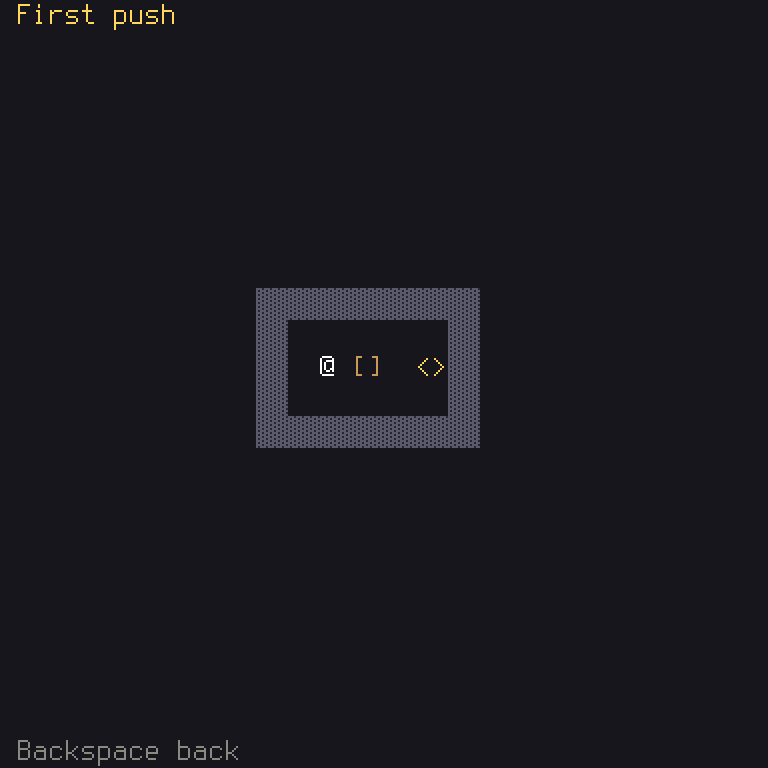
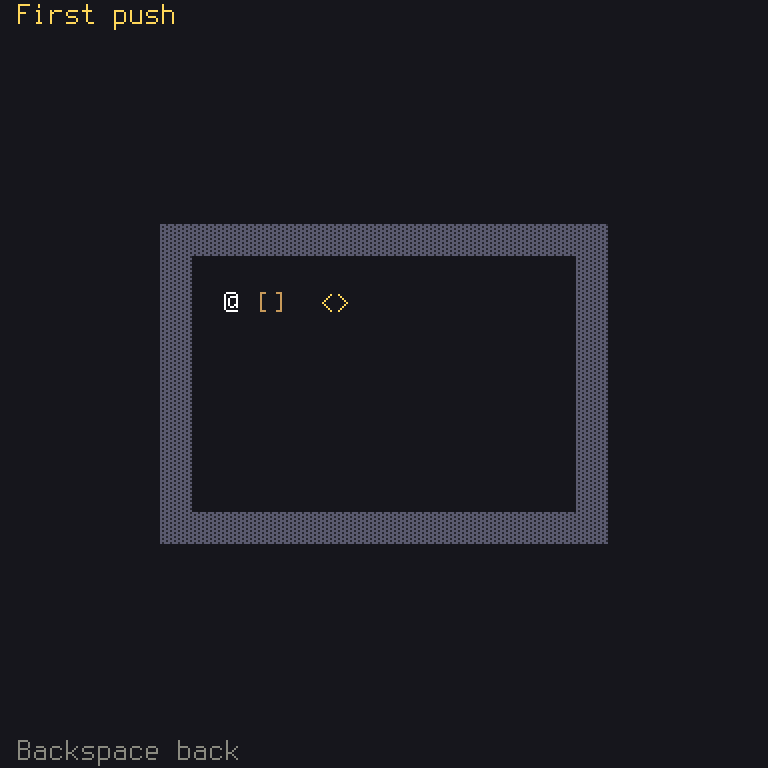
Once you've finished this step, try that, then put it back. Doing it right now would give you an error, since nothing reads this file yet.
Getting ready: serde
The rules' state has to be able to turn into text and back, for saves and replays.
Rust has a well-known library for that called serde. Add it to your game's
dependencies. In the top Cargo.toml, under [workspace.dependencies], add the
line serde = { version = "1", features = ["derive"] }, and in
crates/game/Cargo.toml, under [dependencies], add serde.workspace = true.
Then, in crates/game/src/lib.rs, name the three files you're about to write:
(Your game won't compile again until all three exist. That's fine: you'll finish them all before you run it.)
Reading it: level.rs
Make crates/game/src/level.rs. It starts by saying what it uses:
use ;
use Formats;
use ;
use TerrainId;
use *;
use cratePuzzle;
Those { } in a use take several names from one place at once. Then, give each
kind of ground a name, and each kind of thing that stands on it:
/// Floor: the player and the boxes go over it.
pub const FLOOR: TerrainId = TerrainId;
/// A wall: nothing goes through it.
pub const WALL: TerrainId = TerrainId;
/// A target: floor a box should end on.
pub const TARGET: TerrainId = TerrainId;
/// Each terrain's id in a level's legend, by [`TerrainId`].
pub const TERRAIN_NAMES: = ;
/// The terrain a legend's id names.
/// What a tile may hold besides its terrain.
Rust:
constmakes a fixed value.TerrainId(0)is a tuple struct: a struct whose fields have no names, here just wrapping a number, so that a terrain can never be mixed up with some other number.[&str; 3]is an array of exactly three pieces of text, and&stris borrowed text, as opposed to the ownedString.
pub fn terrain_named(name: &str) -> Option<TerrainId>turns a word from the legend into a terrain, orNoneif there's no such word. The?at the end of thepositionline says: "if this isNone, stop here and returnNone; if it'sSome, carry on with what's inside".?is how Rust passes a problem up to whoever called, in a single character, and you'll use it constantly.
enum Featurelists all the things a tile may hold,StartorBox. Enums are how you say "one of these, and nothing else", and you'll write a lot of them.
impl MapFeature for Feature {} promises the engine's .map format that Feature is
a thing a tile can hold. The trait asks for no functions of its own, so the {} is
empty. And the derive line now has Serialize, Deserialize: those come from serde,
and let this enum be written out and read back.
Next comes the reading itself:
/// A level, as its file says.
pub type Level = ;
/// The format of a level: one tile look, at most 20 tiles a side, which
/// the screen shows whole.
pub const FORMAT: = new;
/// The formats the game reads its own files with.
/// Reads the level in file `name`, which must make a puzzle.
Shuyi: the format registry. Everything a game reads from a file goes through three parts. A kind is what you want (here
Level). A format knows how to read one kind from one sort of file (MapTextreads.map). And the registry,Formats, holds all the formats, and finds the right one for a file. Your code just says "load me aLevelfrom this file", and never cares what's in the file. So a game could switch to a different level editor later, and only the format changes.The bundle is your game's files, the ones
include_dir!put inside it.
Rust:
Result<Level, Vec<ContentError>>is the other type you'll see everywhere.Optionsays "maybe a value".Resultsays "a value, or what went wrong": it's eitherOk(value)orErr(problem). The?works on these too, passing anErrup to the caller.
load::<Level>fills in a generic by hand, to say which kind you want, a form of writing people call the "turbofish".let _ = ...means "I know this gives something back, and I don't need it".
If a level makes no puzzle, say there's no start, read reports it as a problem with
that file, along with every other problem, as the game loads. So you hear about a bad
level straight away, with its file name, and not when a player reaches it. Try it after
this step: remove (2, 2): Start, from the level, and run cargo shuyi check.
What can change: rules.rs
Here's the most important file of your game. Make crates/game/src/rules.rs:
use BTreeSet;
use ;
use ;
use crate;
/// The puzzle: its tiles, where the player stands and where the boxes are.
Game idea: the state is everything that's true right now, and could change. In this puzzle, that's only where the player and the boxes are. The walls never move, so the state just keeps a copy of the tiles. Whatever isn't in the state doesn't exist as far as the rules are concerned.
Look at the top of the file: it uses no screens, no keys, no colors. That's on purpose. In step 3, you'll see why this matters so much.
Rust:
Posis a position, anxand ay, andGrid<TerrainId>is the engine's two-dimensional grid of terrains.BTreeSet<Pos>is a set: a collection with no duplicates, which is just what boxes are, since no two share a tile.Why
BTreeSet, and not the better-knownHashSet? ABTreeSetalways keeps its items in the same order, while aHashSet's order differs from one run to the next. Shuyi's rules must do exactly the same thing every time, on every computer. You'll see what that buys you in step 5 and step 9. So in rules, always useBTree.
Now to build a Puzzle from a level:
/// The puzzle `level` lays out: it needs one start, a box, and as many
/// targets as boxes.
This function goes through the level's features, and checks that they make a puzzle. Reading it will show you a lot of Rust at once:
Rust:
Selfmeans "the type thisimplis for".Puzzle::newis the usual way of writing a function that makes a new one:newisn't special, it's just a habit.
for (&pos, feature) in &level.featuresis a loop, running once for each feature, and calling its partsposandfeatureeach time.
matchis like aniffor all the possibilities of a value. It tries each arm from the top, and the compiler refuses to compile amatchthat misses a possibility. This is one of the best things about Rust: add a new kind ofFeaturelater, and the compiler will take you to everymatchthat needs to think about it.Feature::Start if player.is_some()is an arm with an extra condition.
let player = player.ok_or("no start")?;turns theOptioninto aResult: aNonebecomes the error "no start", which?returns.
And then a few small functions that let others read the state:
/// The tiles.
/// Where the player stands.
/// Where the boxes are.
/// Every target tile.
Notice that tiles, player and boxes in the struct aren't pub, so no other file
can change them. These functions let others look, and only look. That's how it stays
true that only the rules can change the rules' state.
Drawing it: board.rs
In step 1, you met the idea that graphics are a skin. Now you'll use it. Make
crates/game/src/board.rs:
use Any;
use Pos;
use TerrainId;
use *;
use Palette;
use ;
use crateData;
use crateTERRAIN_NAMES;
use cratePuzzle;
First, how much of the frame the level may use. A Rect is a rectangle: left, top, width,
height. This one leaves the top and bottom rows free for text:
/// The cells a level is shown in: all but the top and bottom rows.
pub const AREA: Rect = new;
What a terrain looks like
/// Each terrain's two glyphs and colors, by [`TerrainId`]: floor, wall,
/// target.
pub const TERRAIN_LOOKS: = ;
Each row here is one terrain, in the order level.rs numbered them. Each tile takes up
two cells, side by side, because a cell is twice as tall as it is wide, so two make a
square. Floor is two spaces, a wall is two blocks, and a target is <>. Then come two
names from the palette, for the text color and the background.
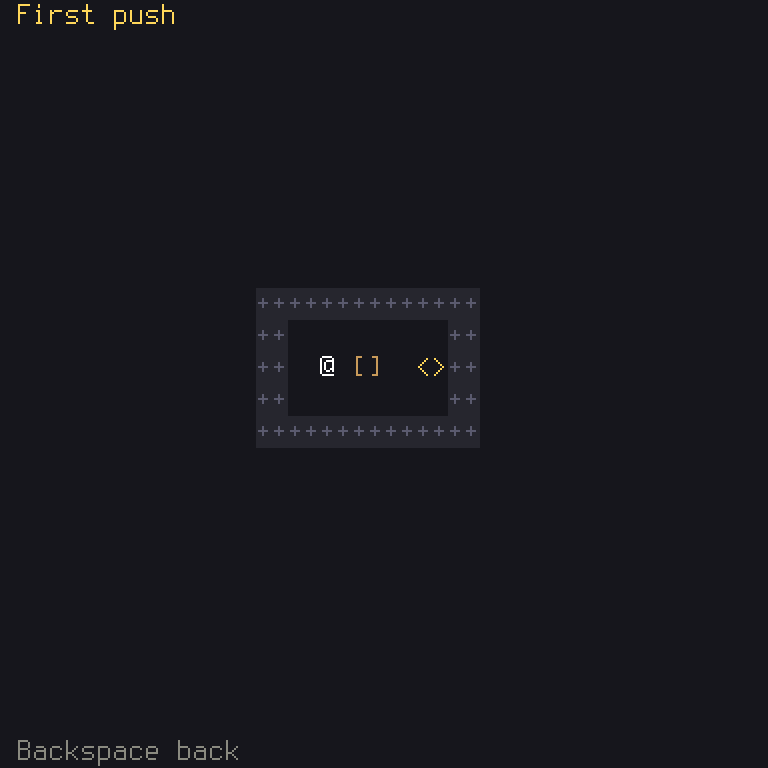
Try changing a wall's look. Only the first part of the row changes:
In crates/game/src/board.rs:
- (['▓', '▓'], "wall_fg", "wall_bg"),
+ (['+', '+'], "wall_fg", "wall_bg"),
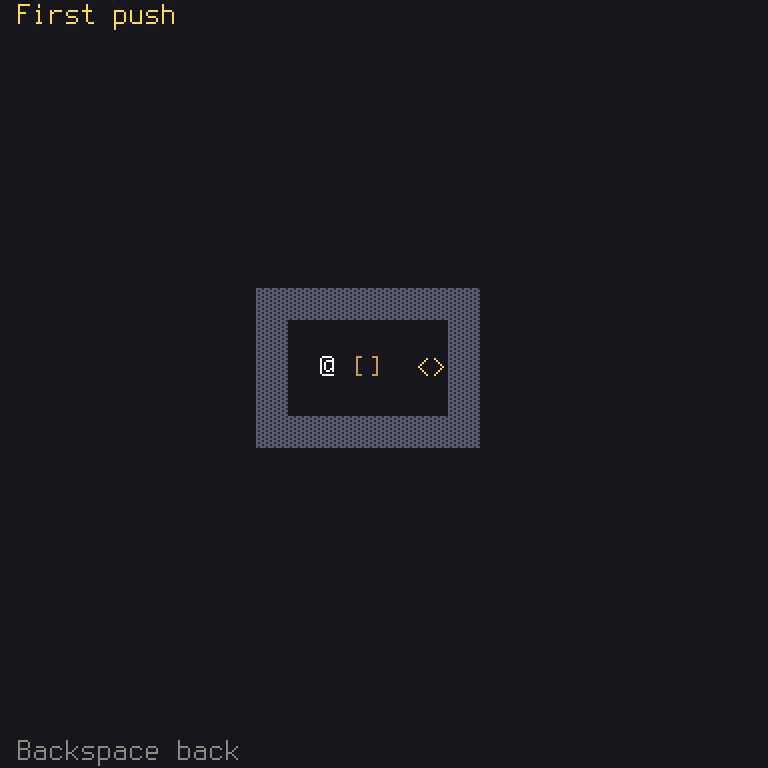
To paint the terrains, the engine asks about them through a trait:
/// The terrains as the skin sees them.
;
TERRAIN_LOOKS.get(...) gives an Option, since there might be no such row, and ?
handles that. usize::from(id.0) takes the number from inside the TerrainId (.0
means the first field of a tuple struct), and turns it into the kind of number used for
counting positions in a list, usize.
The skin
Shuyi: the grid kit (
shuyi::ui::grid) paints maps for you. You build a scene, plain data saying which terrain and which pieces are where, and a skin paints it. AGlyphSkinpaints with characters, and a sprite skin paints with pictures. They take the same scene. So your rules and your scene are already ready for art.
/// The glyph skin: two cells a tile.
// check-text: not player text, the palette's names
pub const GLYPHS: GlyphSkin = new;
This names the palette's colors the skin uses for things this game won't draw (a path, a
cursor, a threat), and how fast a piece glides. 8.0 is a float, a number with a
fractional part. Floats are fine here, as this is only how something looks. They are never
allowed in the rules: floats can round differently on different computers, and rules must
be the same everywhere.
The pieces
Now the things that stand on the tiles. Each is described as data:
/// Which piece.
/// A piece on the map, as the scene holds it.
An enum's possibilities can hold data: Who::Box(usize) is a box with a number. And
MapUnit is the trait that tells the kit what it needs to know about a piece. (type Id = Who; fills in a blank the trait left, like a generic.)
Then the code that paints the pieces:
/// The pieces under the glyph skin: the player's letter over its tile, and
/// a box over both of its tile's cells.
It takes each piece, picks its characters and its color, finds its cell with
glyph::cell_of, and writes the characters there. Cell { glyph, fg, ..cell } makes a
new cell with this character and text color, and everything else, like its background,
from the old one.
Rust: the
'ainPieces<'a>is a lifetime. A struct that holds a borrow (the&) has to say so, so the compiler can check the borrowed thing lives long enough. You'll seldom need to write these yourself: when you do, the compiler tells you what to put.
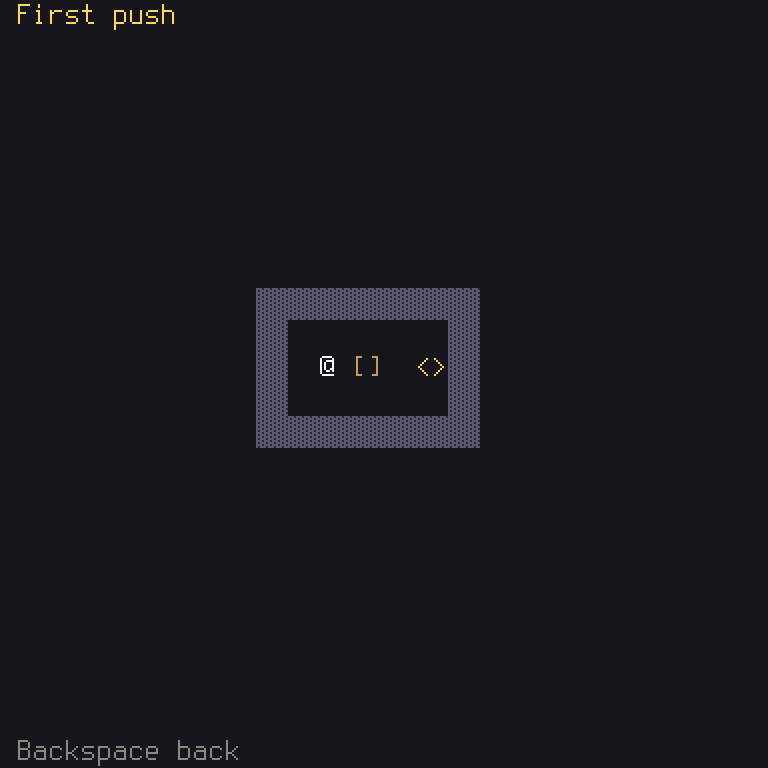
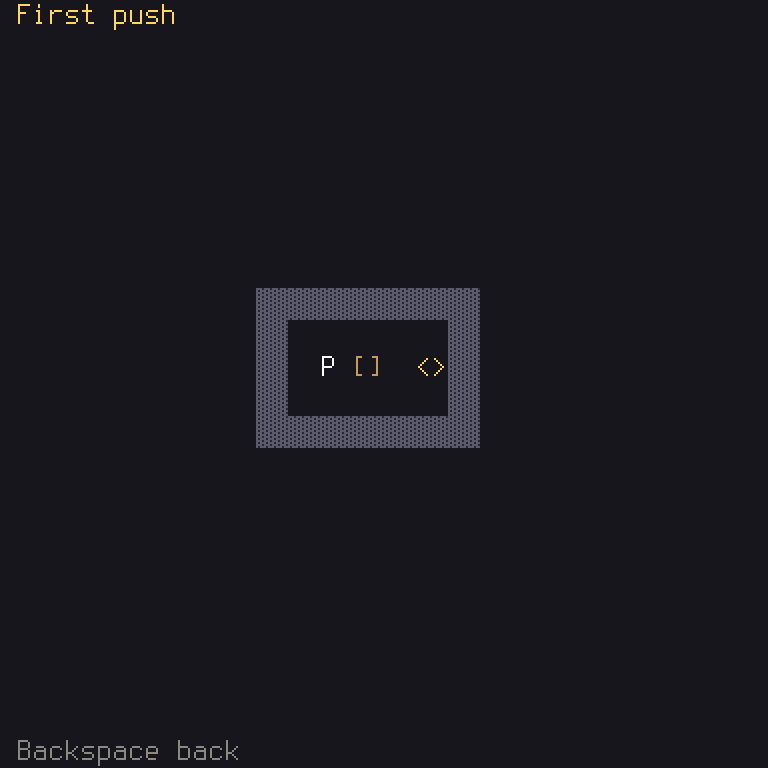
So the player's character is one small piece of data:
In crates/game/src/board.rs:
- (Who::Player, _) => (['@', ' '], "player"),
+ (Who::Player, _) => (['P', ' '], "player"),
The screen
The screen holds the state, and the name to show:
/// What the lines round the map show.
/// The board screen.
/// The board on the game's level.
///
/// # Panics
///
/// If the level makes no puzzle, which loading it rules out.
Starting it reads the level from the game's data, and builds the puzzle.
unwrap_or_else(|e| panic!("{e}")) says: if this is an error, panic, stop the
program with that message. A panic is for things that can't happen if the game is right.
It can't happen here, as read already checked this level when the game loaded. The comment
says so.
Then it builds its scene:
/// What the map shows, in a view of `view` tiles round the player.
The scene is built new every frame, from the state. That's a good habit: there's only one copy of what's true, so what's on screen can never disagree with it. The camera picks which part of the level is in view, here centred on the player.
/// The tiles the glyph skin fits in [`AREA`].
The screen's jobs are the ones you saw on the title. For now, its only action is Cancel,
which goes back to the title with Transition::Pop:
And draw puts it all together:
print(1, 0, ...) prints the level's name at the top left, and the help goes on the last
row. GLYPHS.paint(...) then paints the scene in AREA.
The very last function of the file is what lets a test find this exact screen on the
stack, by asking "are you a Board?". Every screen you want a test to look inside
needs it:
Close the impl with a final }.
Joining it up
crates/game/src/stages.rs is the file that was empty in step 1. It now names your stage,
reads your own data, and answers the title's question of what comes first. Replace the whole
file with this:
//! The game's one stage: the puzzle. The title ([`crate::title`]) starts
//! it, and its part of the game's data is [`Own`].
use Lighting;
use *;
use crateData;
use crateBoard;
use crate;
/// The stages' ids, in order.
/// The game's own part of its data.
/// Reads the game's own part from its files.
/// What the title starts: the board.
/// Every screen the game can show past the title, for the check that its
/// controls fit each target.
/// The game's tools: the engine's, for a game on the short path.
Shuyi:
Ownis the game's own part of its data, whichBasicDatacarries for you alongside the words and the keys, inctx.game.own. Andgame()inlib.rsalready passesstages::owntoBasicGame::with_own. That's why step 1 could sayOwn = (), a value that holds nothing, and you could change it here with no other change.
Rust:
Box<dyn Screen<Data>>means "a box holding some type that implementsScreen, and which type isn't known until the game runs". That is how a stack can hold a title, a board and a menu all at once. You'll keep seeing it, and you can read it as "any screen".
Now the words and the colors it asked for. In files/en.ron, add this before the last }:
    // The board.
    "board.help": "{Cancel} back",
and in files/palette.ron add the game's own colors:
    // The game's.
    "floor_fg": "#3a3a46",
    "floor_bg": "#16161c",
    "wall_fg": "#5a5a6e",
    "wall_bg": "#26262e",
    "target_fg": "#ffd75a",
    "player": "#ffffff",
    "box": "#c89a5a",
    "box_home": "#a0e07a",
    "path": "#5ac8ff",
    "cursor": "#ffd75a",
    "threat": "#ff7a5a",
Run it
If the compiler has complaints, read them from the top down, as one mistake can cause many later messages. Fix the first and run it again. Compare with this step's copy when you're stuck.
Press Enter on the title, and you'll see the picture from the top of this page. Note that
the title now shows a line saying how to play: it appeared because stages::names() isn't
empty any more. Backspace goes back. That's Transition::Pop, taking the board card off the
stack, and showing the title that was underneath, unchanged.
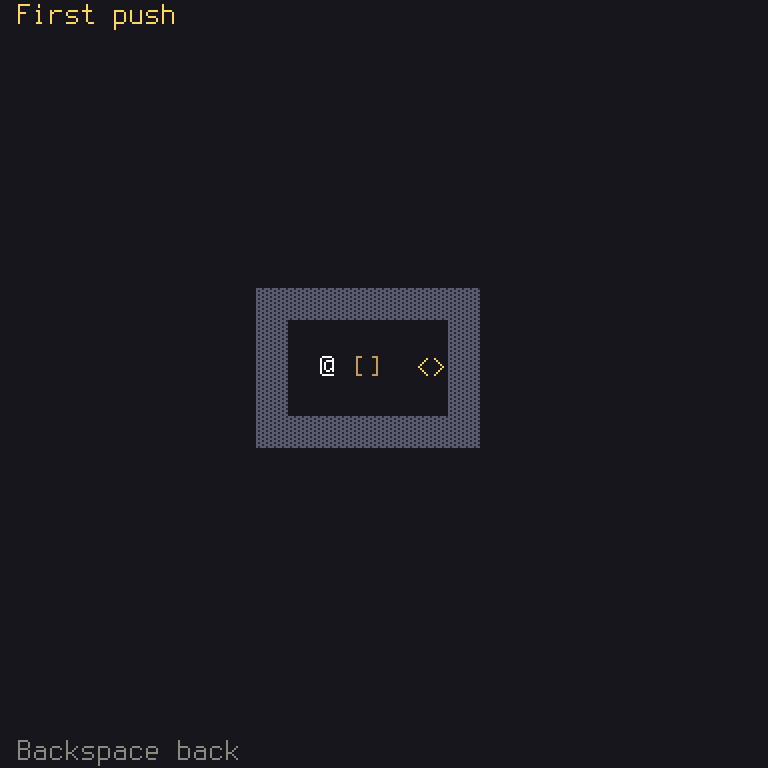
Colors work like they did before, for your own colors as much as the engine's:
In crates/game/files/palette.ron:
- "box": "#c89a5a",
+ "box": "#5a9bff",
A test
Make crates/game/tests/board.rs. Each file in tests/ is a separate little program:
//! The puzzle played through the engine's Harness: tests of what happened
//! read the board's state. Key names here are the Harness's test-script
//! names, input to a test, not game code.
use Board;
use Harness;
/// The game on its first level.
on_board and board are two helpers, used by every test from now on. This test checks that
the level's name is on screen, that the puzzle has one box, and that Cancel closes the
board. Run cargo test --workspace.
Notice that it reads the state (puzzle.boxes()) and not the picture. Tests of what happened
read the state. So you could repaint the entire game, and this test would never notice.
What you learned
- Rust:
const, tuple structs and arrays,Result, the?operator,match,for,Self,panic!, and lifetimes when you can't avoid them,dyn, and whyBTreeSet. - Game ideas: tiles, state, and data apart from code.
- Shuyi:
.mapfiles, the format registry and the bundle,Own, the grid kit, scenes and skins, and cameras.
For another take on the same ideas, chapter 5 explains the registry, and chapter 4 the skins. Next, you'll walk.